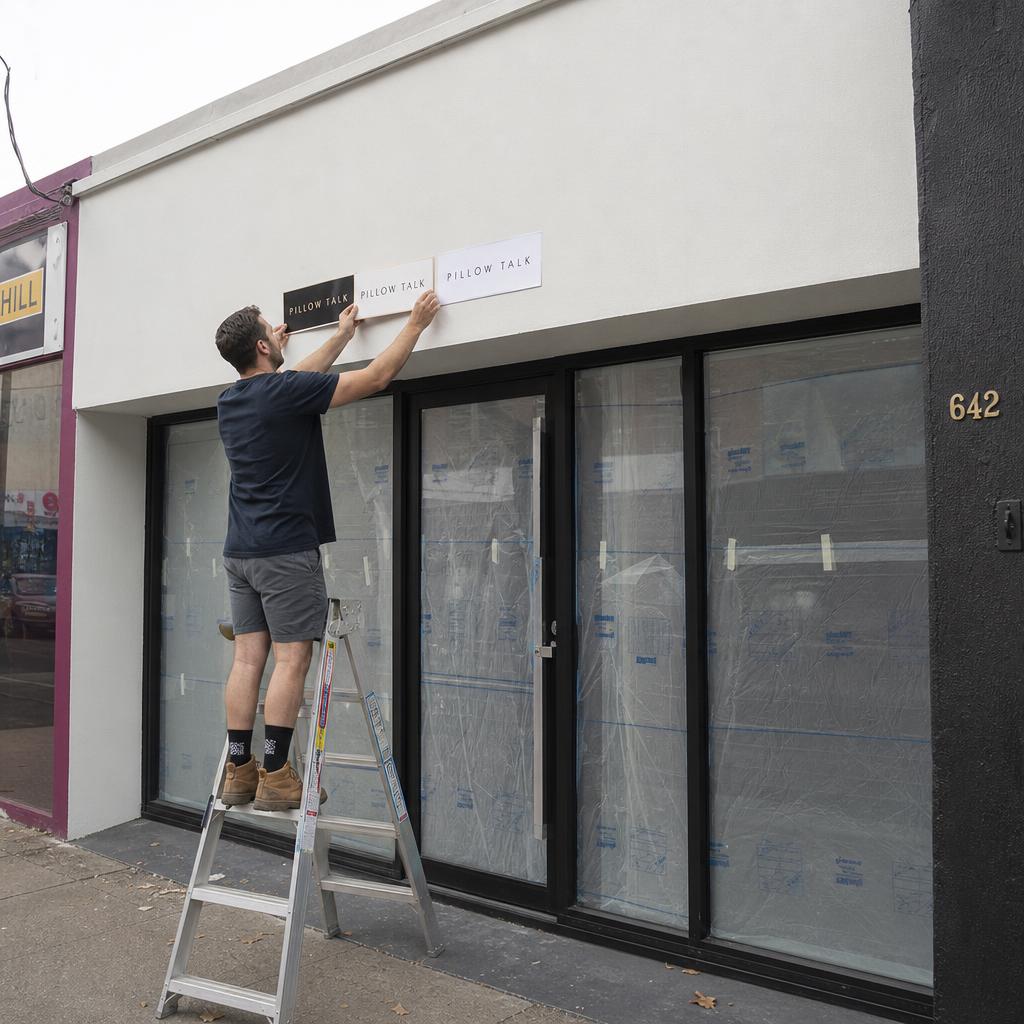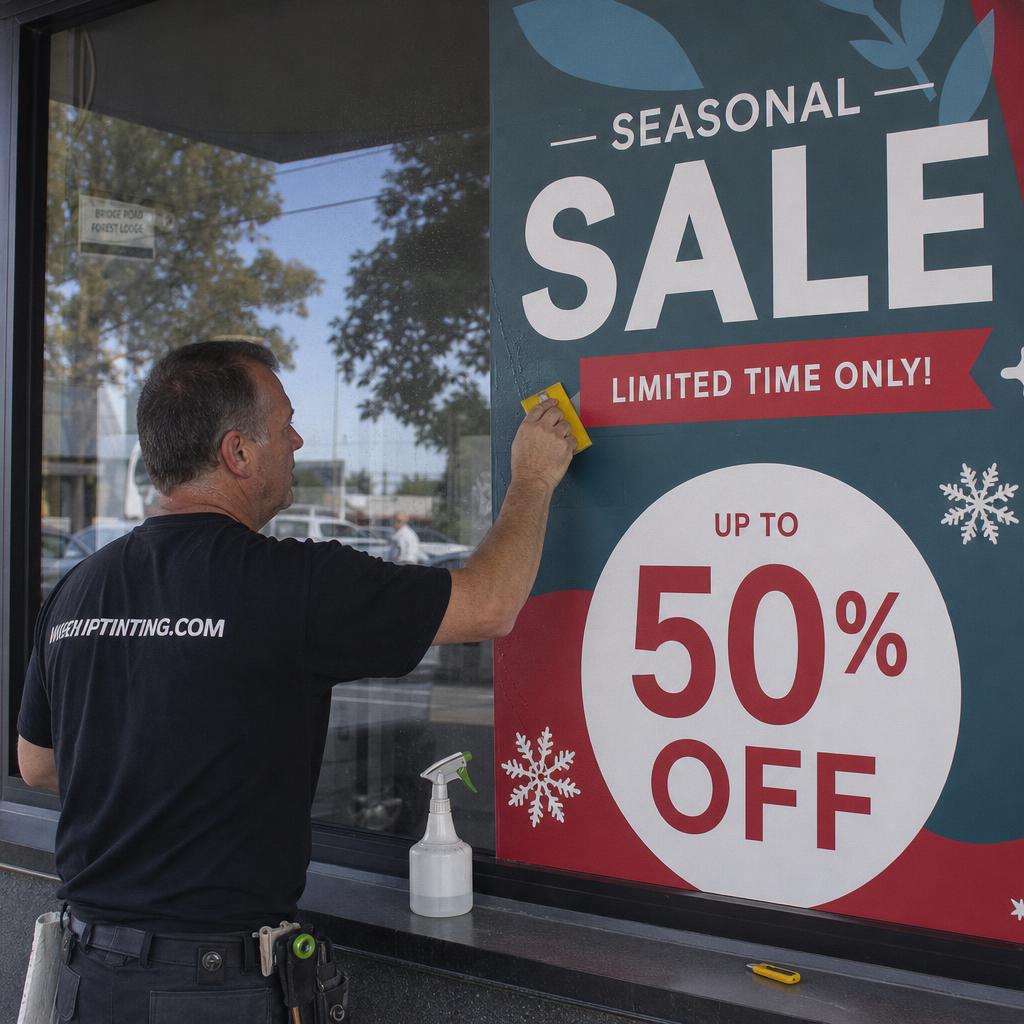
Window graphics are often the most cost-effective way to transform a retail storefront. Unlike permanent signage requiring council approval, window graphics can be updated seasonally, tested and refined, and removed without trace when you're ready for something new.
This guide covers everything Australian retailers need to know about window graphics—from material selection to design strategy to installation.
Types of Window Graphics
Vinyl Lettering
Individual cut letters and shapes applied to glass, showing the glass between elements.
Best for:
- Business name and logo
- Operating hours
- Permanent information
Pros:
- Clean, professional appearance
- No background—maximum light transmission
- Long-lasting (5+ years)
Cons:
- Limited to solid colours
- No photography or gradients
- Time-consuming installation for complex designs
Price range: $20-$80 per square metre (varies with complexity)
Printed Window Graphics
Full-colour digital prints on vinyl or polyester films, showing photographs, gradients, and complex graphics.
Best for:
- Promotional campaigns
- Product photography
- Complex branded graphics
Pros:
- Full colour capability
- High-impact visually
- Photo-realistic possible
Cons:
- Blocks light behind printed areas
- Shorter lifespan than cut vinyl (3-5 years)
- Higher cost for quality prints
Price range: $80-$200 per square metre (including installation)
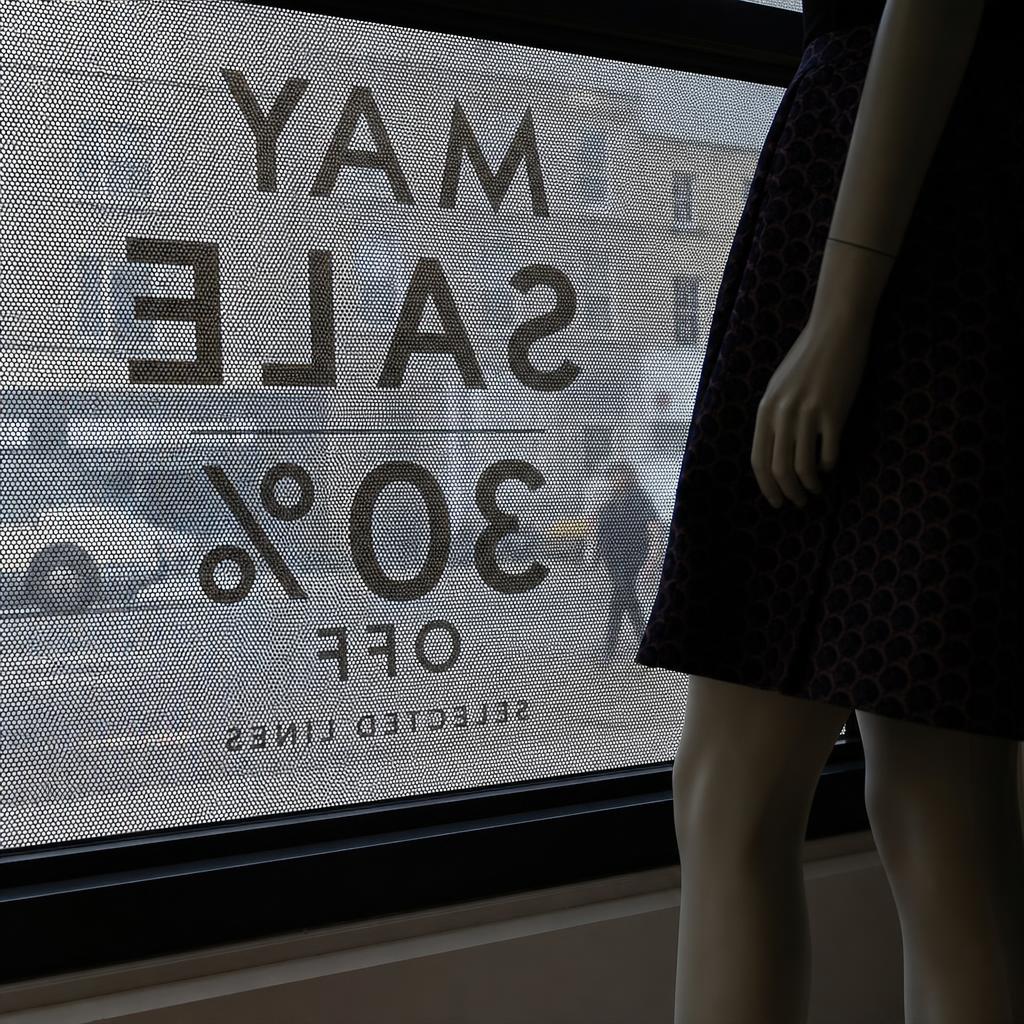
Perforated Window Vinyl (One-Way Vision)
Printed vinyl with tiny holes allowing one-way visibility—graphics visible from outside, see-through from inside.
Best for:
- Full-window coverage without blocking interior light
- Vehicle windows
- Privacy applications
Pros:
- Massive visual impact from outside
- Maintains interior visibility and light
- Full-colour graphics
Cons:
- Reduced (not eliminated) light transmission (~30% loss)
- Graphics less sharp than solid vinyl
- Higher material cost
Price range: $150-$300 per square metre installed
Frosted/Etched Effect Films
Semi-opaque films creating a sandblasted glass effect, either plain or with cut designs.
Best for:
- Privacy without darkness
- Elegant, subtle branding
- Meeting room glass
- Decorative patterns
Pros:
- Professional, high-end appearance
- Allows light transmission
- Durable and low maintenance
Cons:
- Limited contrast for graphics
- Can look dated if design is wrong
- Shows fingerprints and marks
Price range: $60-$150 per square metre installed
Window Tinting
Solar control films reducing heat and glare, available in various shades and reflective options.
Best for:
- Sun-facing windows
- Product protection from UV
- Energy efficiency
Pros:
- Reduces cooling costs
- Protects merchandise from fading
- Can incorporate branding elements
Cons:
- Limited graphics capability
- May affect street visibility of interior
- Building management approval often required
Price range: $50-$120 per square metre installed (security/solar films higher)
Window Graphic Design Strategy
The Visibility Balance
Retail windows must balance two competing needs:
External impact: Bold graphics attract attention from passersby Internal visibility: Shoppers want to see inside before entering
Finding balance:
- Use graphics in zones (top/bottom) leaving clear viewing areas
- Employ perforated vinyl for full coverage with transparency
- Consider time of day—lit interiors are visible through graphics at night
Zone Planning
Divide your window into functional zones:
Header zone (top 300-500mm):
- Business name, logo
- Key messaging or category
- Least impacts interior visibility
Primary zone (eye level, 1000-1800mm):
- Premium real estate for key messages
- Product displays behind unobstructed glass
- Promotional highlights on graphics
Lower zone (below 800mm):
- Less visible for messaging
- Privacy film for changing areas
- Regulatory information (trading hours)
Viewing Distance Considerations
3 metres (footpath viewing):
- Detail readable
- Smaller text viable
- Complex information possible
10 metres (across street):
- Headlines only
- Bold graphics
- Simple messaging
Vehicle speed (30+ km/h):
- Maximum 3-5 words
- High-contrast colours
- Simple shapes/icons
Seasonal Flexibility
Plan for change: - Permanent elements in more durable materials - Promotional zones designed for easy update - Installation method allowing removal/replacement - Budget for 4-6 updates per year
Material Selection Guide
Material Comparison
| Material | Durability | Light Transmission | Best Use | Cost |
|---|---|---|---|---|
| Cut vinyl | 5-7 years | Maximum | Text, logos | Low |
| Printed vinyl | 3-5 years | Low | Photos, campaigns | Medium |
| Perforated | 2-3 years | Moderate | Full coverage | High |
| Frosted film | 7-10 years | High (diffused) | Privacy, subtle branding | Medium |
| Static cling | 1-2 years | Varies | Temporary, repositionable | Low |
Adhesive Types
Permanent adhesive:
- Strongest bond
- Difficult to remove without tools
- Best for long-term installations
- May leave residue on removal
Removable adhesive:
- Easy to reposition during installation
- Clean removal within 2 years
- Slightly lower bond strength
- Best for promotional graphics
Static cling (no adhesive):
- Easiest to install and remove
- Repositionable unlimited times
- Only works inside glass
- Shorter lifespan, can fall in heat
Quality Indicators
Premium films:
- Cast vinyl or high-quality calendered
- UV-resistant inks
- Overlaminate protection
- Known brands (3M, Avery, Oracal)
Budget films:
- Basic calendered vinyl
- Standard inks (fade faster)
- No overlaminate
- Unbranded materials
Lifespan difference: Premium materials last 2-3x longer, making total cost of ownership often lower.
Window Graphic Installation
Professional vs DIY
DIY suitable for:
- Small, simple vinyl lettering
- Static cling graphics
- Temporary promotional pieces
- Under 1 square metre
Professional recommended for:
- Large prints and full-window coverage
- Perforated vinyl (alignment critical)
- High-traffic retail frontage
- Multi-window consistency
Installation Process (Professional)
Preparation:
- Clean glass inside and out
- Remove previous graphics and residue
- Degrease with isopropyl alcohol
- Mask surrounding areas if needed
Wet application (large graphics):
- Spray application solution on glass
- Position graphic (solution allows sliding)
- Squeegee from centre outward
- Remove air bubbles and solution
- Trim edges if required
- Final squeegee and detail work
Dry application (small graphics):
- Position with tape hinge
- Peel backing, apply from hinge outward
- Squeegee to remove air
- Remove application tape
Post-installation:
- Allow 24-48 hours before cleaning
- Avoid pressure washing first week
- Inspect for bubbles (can be fixed early)
Common Installation Problems
Bubbles: Air trapped during application Solution: Pop with pin, squeegee to edge
Wrinkles: Vinyl stretched or not flat Solution: Heat gently and squeegee, or replace panel
Lifting edges: Poor adhesion or contamination Solution: Clean edge, reapply with heat or sealant
Misalignment: Graphics not level or centred Solution: Careful measurement and use of laser levels
Legal and Regulatory Considerations
Australian Consumer Law
Window graphics must not be misleading or deceptive: - Prices must be current and accurate - Claims must be substantiated - Sale conditions must be clear - Fine print must be legible
Council Regulations
Most councils regulate signage but treat window graphics differently: - Generally exempt from Development Application under certain sizes - May have restrictions on proportion of window covered - Heritage areas may have additional controls - Check your specific council's signage policy
Lease Requirements
Review your lease before installation: - Landlord approval may be required - May specify materials or installers - Restoration obligations on lease end - Shopping centre tenancy design guidelines
Window Graphics ROI
Measuring Effectiveness
Foot traffic:
- Count people passing vs entering before and after
- Use door counters for accurate data
Sales correlation:
- Track sales during different promotional windows
- Compare like-for-like periods
Customer feedback:
- "How did you find us?" surveys
- Social media mentions
A/B testing (with digital):
- Rotate promotional messages
- Track response by message type
Cost-Effectiveness
Window graphics vs alternatives:
| Method | Cost per month | Impressions | Flexibility |
|---|---|---|---|
| Window graphics | $50-$200* | High (24/7 visible) | Low (3-6 month change) |
| Social media ads | $500-$2,000 | Variable | High (instant change) |
| Local print ads | $300-$1,000 | Declining | Low (publication schedule) |
| Digital window display | $100-$300** | High (24/7) | Maximum (instant) |
Amortised installation cost over lifespan *Hardware amortised + software subscription
Digital Window Alternatives
For businesses wanting maximum flexibility, digital window displays offer advantages:
Benefits over vinyl:
- Change content instantly
- Daypart different messages
- Test and optimise messaging
- Integrate with other marketing
- No installation required for updates
SPARC digital window solution:
- High-brightness screens visible in sunlight
- Cloud-managed content from anywhere
- Scheduled content changes automatically
- Analytics on what's displayed when
---
Want window displays you can update in seconds, not weeks? SPARC's digital signage makes your windows work harder. Explore SPARC pricing to see how retailers are going digital.
Seasonal and Promotional Window Graphics: How Often to Refresh Them
One of the biggest advantages of window graphics over fixed signage is that they're built to be swapped out — but that only pays off if you actually have a refresh plan. Treat your storefront glass the same way you'd treat a homepage banner: it should reflect what's happening in the business right now, not what was happening three months ago.
A practical cadence separates graphics into two tiers:
1. Evergreen branding — logo, tagline, store hours. Stays up for a year or more, and should be produced in a durable film rated for extended outdoor exposure.
2. Promotional graphics — sale periods, new product launches, EOFY, Christmas trade. A different job entirely: lower-cost, shorter-life vinyl, down the moment the promotion ends.
Nothing undercuts a "30% off" sticker faster than leaving it up six weeks after the sale finished.
The rule of thumb: three to four promotional swaps a year tied to your actual sales calendar, plus one evergreen refresh when brand assets change.
Order ahead of the trading period, not during it. A shopfront still wearing last season's promotion during peak trade looks neglected, not busy.
If your retail calendar is tight, ask your supplier for a standing production slot — new graphics arriving a few days before you need them, with the old ones scheduled for removal at the same time.
Application and Removal: Protecting the Glass
Getting graphics onto the glass cleanly matters as much as the design. A bubbled install or a botched removal undoes the effect you paid for.
Application conditions:
- Clean, dry glass
- Out of direct midday sun — heat makes the adhesive tack too fast and traps air before the installer can work it out
For anything larger than a single pane, professional installation is worth it. The squeegee-and-heat-gun technique gets a flat, bubble-free finish that is genuinely hard to replicate freehand, and it avoids the stretched or misaligned graphics that come from rushing a DIY job.
Removal is where most damage actually happens. Pulling vinyl off cold glass, or using a blade at the wrong angle, leaves scratches or a haze of adhesive residue that is more work to clean than the graphic was to install.
The safer sequence:
- Warm the film gently — a heat gun, or remove on a mild sunny day. This softens the adhesive so the vinyl peels back in one piece rather than tearing.
- Lift leftover residue with a plastic scraper and a proper adhesive remover — never a metal blade, particularly on tinted or coated glass where scratching can void a warranty.
If your storefront uses safety or double-glazed glass, confirm with your supplier that the film and adhesive are rated for it before installation, not after.
Retail window graphics FAQs
How long do retail window graphics typically last before they need replacing?
It depends entirely on the film and its exposure. Promotional graphics printed on standard vinyl are generally treated as short-term and swapped out with each campaign, while evergreen branding on higher-grade film can hold up for a year or more before fading or edge-lifting becomes noticeable. Windows facing direct afternoon sun will show wear faster than shaded or south-facing glass.
Do I need council or landlord permission to install window graphics?
Generally no, which is one of the main reasons retailers use them instead of new fixed signage. Window graphics are applied to existing glass rather than the building structure, so they typically sit outside council signage permit requirements. That said, if you're in a heritage precinct or a shopping centre with its own shopfront guidelines, it's worth a quick check with the landlord or centre management before installing anything large-format.
Will window graphics make my shop feel dark inside?
Only if they cover too much glass. Full-coverage solid vinyl blocks light significantly, which is why most retailers use perforated or partial-coverage graphics on the areas customers need to see through, reserving solid film for lower panels or spandrel sections. Staff sightlines matter here too — if your team needs to watch the entry or the street from behind the counter, keep that section of glass clear regardless of how the rest of the window is dressed.
Can window graphics be removed without damaging the glass or leaving glue behind?
Yes, if the right film was used and it's removed with a bit of care. Removable vinyl is designed to release cleanly, especially when warmed slightly before peeling. Problems usually come from using permanent-grade vinyl for what was meant to be a temporary application, or from removing film cold with a blade. If you're unsure what was originally installed, it's safer to get a professional to remove it than to risk scratching the glass.
How much does professional installation cost compared to doing it yourself?
DIY application saves the install fee upfront, but bubbles, misalignment, or a torn removal often mean reprinting the graphic — which costs more in the end than paying for a professional job the first time. For a single small window, DIY is usually fine if you're comfortable with a squeegee. For full storefronts or multi-panel installs, professional application is the more reliable option.
Can window graphics be applied over tinted or safety glass?
In most cases yes, but it's worth confirming with your supplier first. Some adhesives don't bond well to certain tint films, and safety or double-glazed glass can have manufacturer warranty conditions around what can be applied to the surface. A quick check before ordering avoids finding out the hard way during installation.
How do I stop window graphics from fading in direct sun?
Fading is mostly a function of film quality and sun exposure, not something you can prevent entirely on a west-facing shopfront. Choosing a UV-stable laminate for graphics that will stay up long-term makes the biggest difference, and rotating promotional graphics regularly means none of them are up long enough for fading to become obvious.