Deploying a video wall is a project, not a purchase.
It moves through requirements gathering, site assessment, hardware and software selection, installation coordination, content preparation and formal testing before you reach go-live.
Most delays and budget blowouts trace back to one of two causes:
- Hardware chosen before the use case was defined
- Content and network readiness left until installation week
This guide walks the full sequence, from the first requirements conversation to handover, and points to the deeper technical guides you will need at each stage.
The Six Stages of a Video Wall Deployment
- Define requirements before you spec hardware
- Site assessment and technical readiness
- Selecting hardware and software vendors
- Coordinating the installation
- Preparing content before go-live
- Testing, commissioning and sign-off
Step 1: Define Requirements Before You Spec Hardware
The most common video wall mistake is starting with a panel brand or a pixel pitch instead of a use case.
Before any hardware conversation, get written answers to these:
- What is the wall's job — brand impression in a lobby, live data in a control room, retail promotion, or wayfinding?
- Who will update content, and how often?
- What is the viewing distance, and is the wall seen head-on or at an angle?
- Does it need to sync with other displays on site, or across sites?
- What is the budget envelope, including installation, content and ongoing licensing — not just panels?
These answers determine almost everything downstream. A control room wall prioritising 24/7 uptime and precise pixel alignment has a completely different spec to a retail LED wall repainted with new campaign content every fortnight.
Write it down as a one-page brief and get sign-off from whoever controls the budget before site assessment. It becomes the reference every later decision is checked against, and it is far cheaper to argue about requirements on paper than after the panels are up.
Name who owns the project once installation starts. Anything beyond a single small display involves a client stakeholder, an AV integrator, and often separate electrical or structural contractors. Deciding early who has final say on scheduling and scope avoids the usual situation where one trade's delay quietly pushes out the whole project.
Step 2: Site Assessment and Technical Readiness
A proper site assessment covers four things:
- Physical space — wall dimensions, structural load capacity (LED walls are heavier than most people expect), clearance for service access behind the panels, and sightlines from where viewers will actually stand
- Power — dedicated circuits sized for the full wall at peak brightness, not just what is already in the wall. Undersized power is one of the most common on-site surprises
- Network — a wired connection at the wall location for the media player or controller. Wireless is rarely reliable enough for continuous playback, especially on multi-panel walls needing frame-accurate sync
- Environment — ambient light, which drives the brightness and nit rating you need; temperature and airflow at the install point; and whether the location is indoor, semi-outdoor or fully outdoor, which changes IP rating requirements substantially
In an existing building, get an electrician and ideally a structural engineer to sign off the install location before hardware is ordered. Skipping this is the single biggest cause of installation-day delays — panels arriving at a wall that cannot physically or electrically support them.
Document the assessment in writing, with photos and measurements, rather than relying on a verbal walkthrough. It does double duty: your hardware vendor quotes against it, and you check the finished install against it during commissioning.
If assessment happens weeks or months before installation, revisit it before hardware ships. Buildings change, power boards get reallocated, and a switch with spare ports during assessment may not have them when the crew arrives.
Step 3: Selecting Hardware and Software Vendors
With requirements and site conditions confirmed, you can spec properly: panel type, pixel pitch matched to realistic viewing distance, brightness and IP rating matched to the environment, and a mounting system that fits the confirmed dimensions and load.
Compare vendors on more than price:
- Lead time
- Local support and spare parts availability in Australia
- Warranty terms
A slightly cheaper panel that takes twelve weeks to get a replacement part is rarely the cheaper option over the wall's working life.
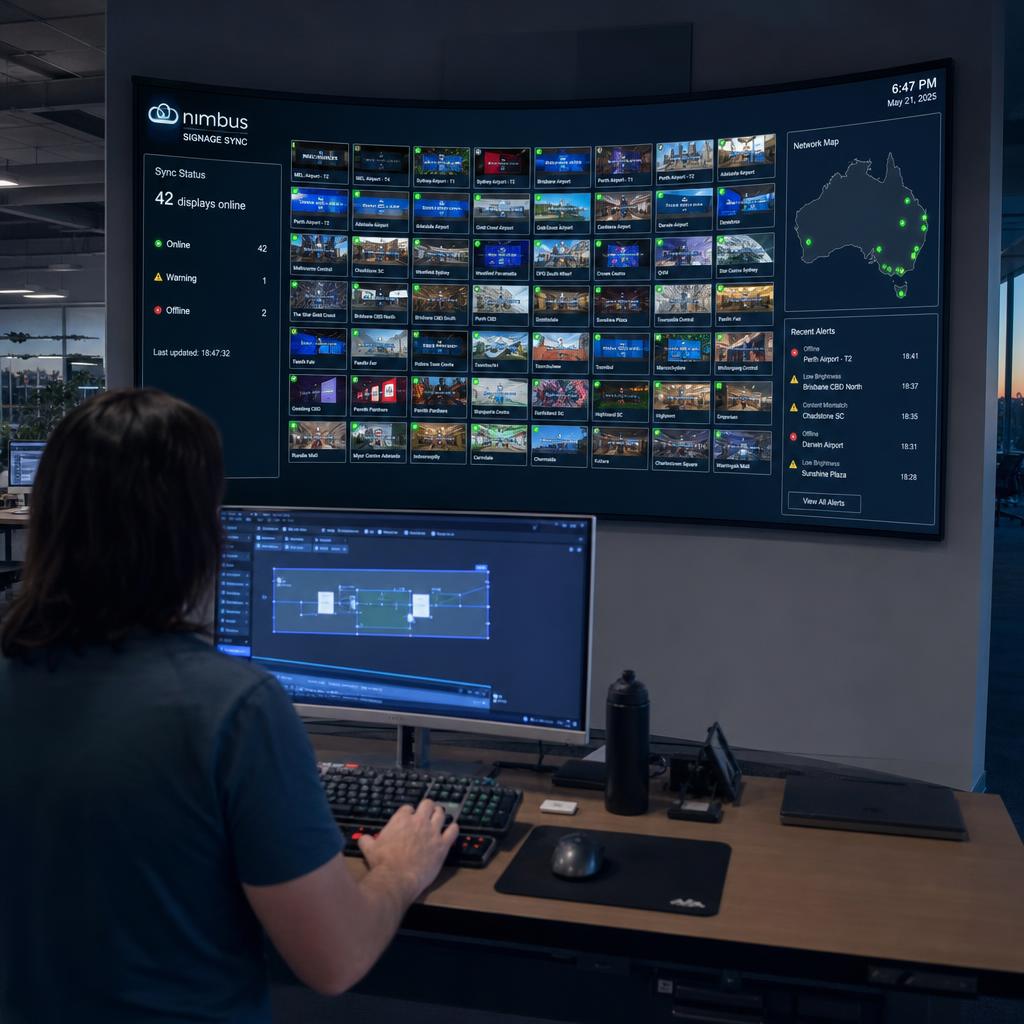
Software selection runs in parallel, not as an afterthought. The player and content platform decide how content is scheduled, updated and kept in sync, and switching platforms after installation is disruptive and costly.
What to look for in a content platform:
- Remote scheduling
- Proof of play
- Offline playback
- Multi-site control
Our guide on video wall software goes through each one.
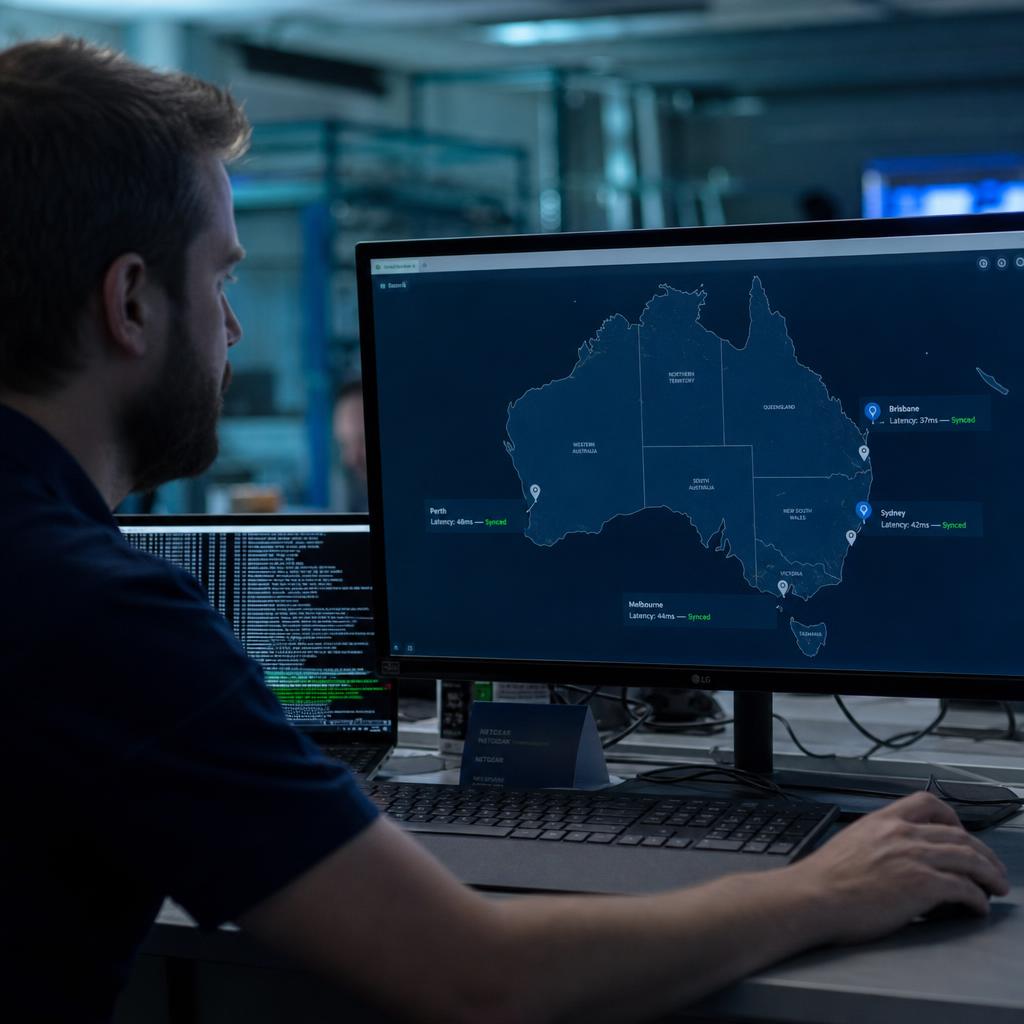
If several panels work as one canvas, confirm sync capability now — not after the wall is built. How to synchronise multiple LED video walls covers the mechanics.
SPARC's video wall features and hardware options are a useful benchmark for what a purpose-built platform should offer.
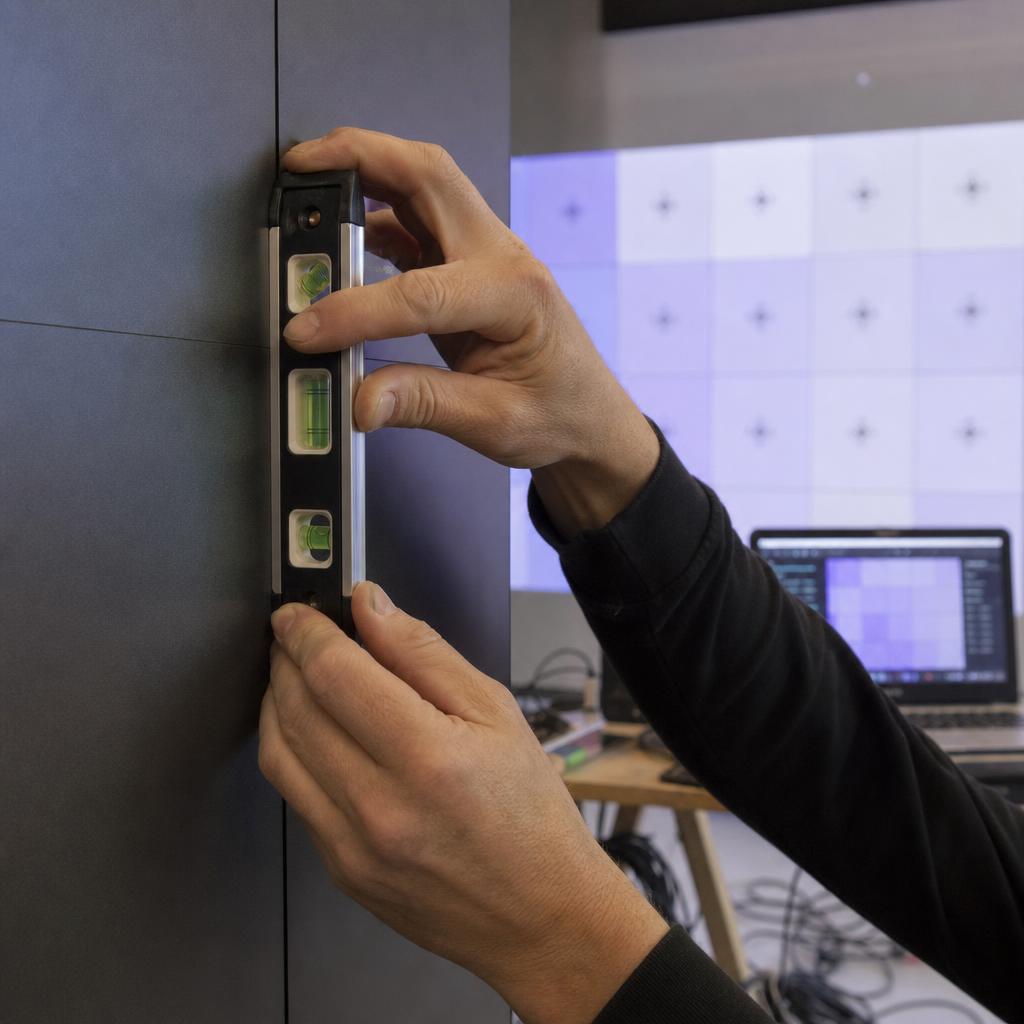
Step 4: Coordinating the Installation
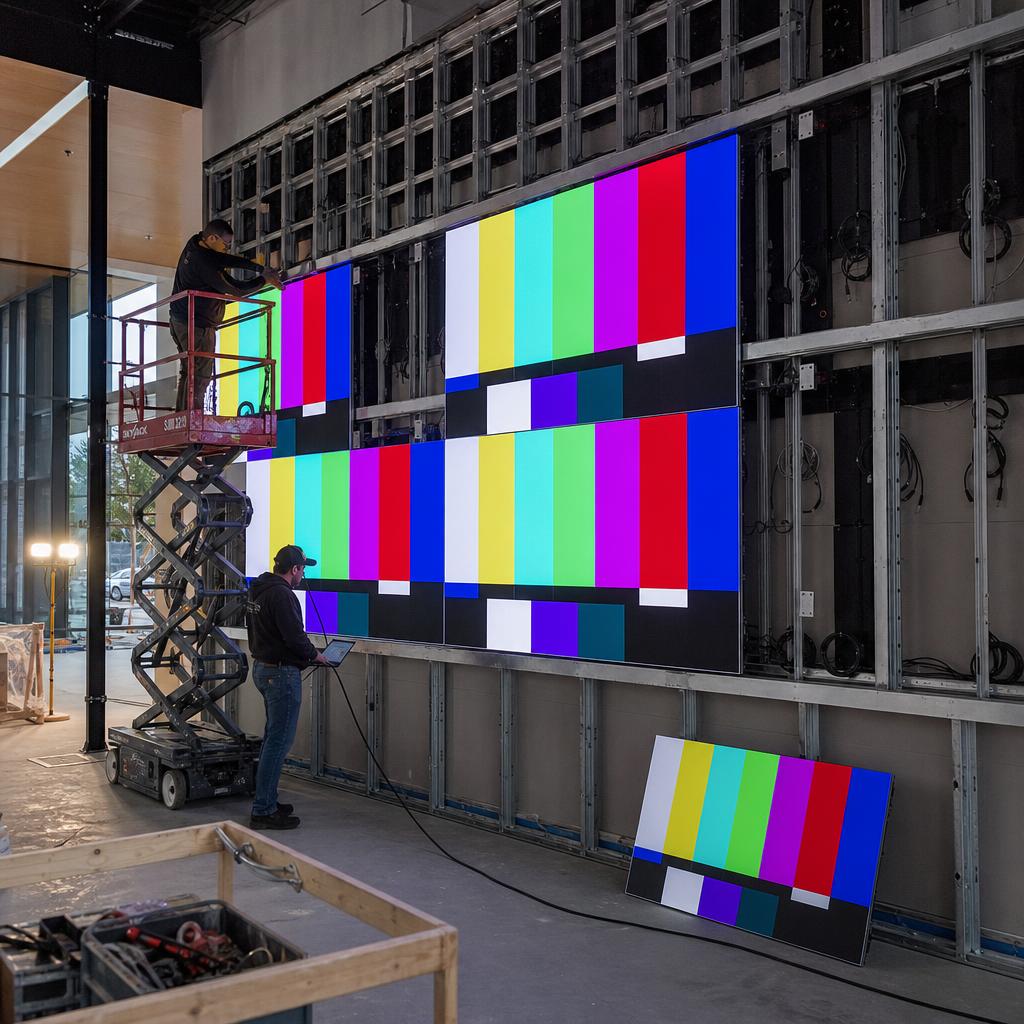
Installation day involves more trades than most first-time project owners expect:
- An electrician for final power connection
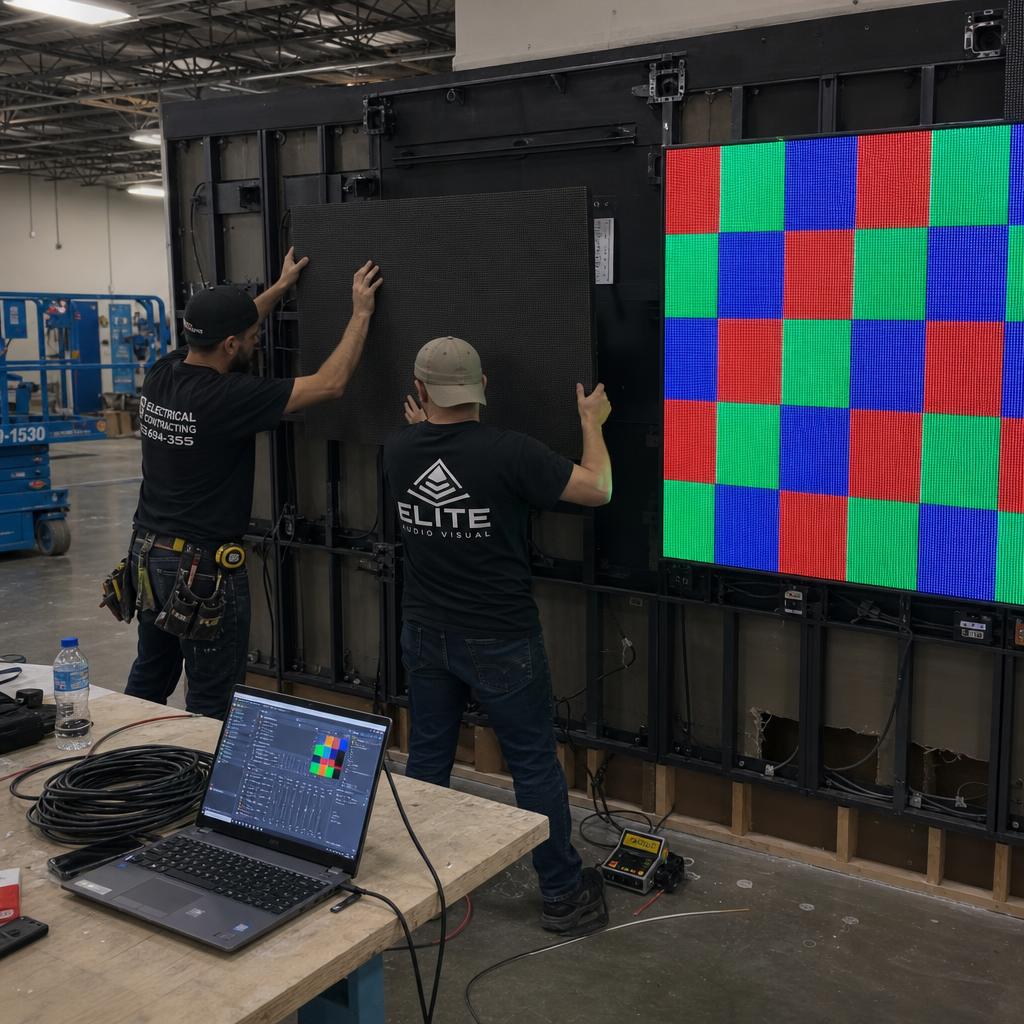
- A structural or mounting installer for the frame and panels
- A network technician for cabling and switch configuration
- An AV integrator to commission the panels and connect the media player
On larger projects these are different contractors, and someone needs to own the sequencing. Power and structural work must be signed off before panel mounting begins, and network cabling tested before the media player goes live.
Build a simple runbook before the crew arrives: who is on site each day, what needs sign-off before the next trade starts, and a single contact for decisions when something does not match the site assessment.
Log panel serial numbers and cabinet positions as they are installed. That record matters later for warranty service, because replacement panels usually need calibration data matched to their specific position in the array.
Weather and site access matter more than most timelines allow for:
- Outdoor and semi-outdoor installs depend on conditions on the day
- Restricted access hours — a centre allowing only overnight work, or a secure facility requiring escorts — belong in the schedule from the start, not discovered when the crew cannot get in
- In a live environment, agree noise, dust and access boundaries with the site manager well beforehand
Step 5: Preparing Content Before Go-Live
Content readiness should start well before installation finishes.
At minimum, before the physical wall is live:
- A first playlist built and scaled correctly for the wall's actual resolution and aspect ratio
- Tested on a preview screen or the software's simulator
- Ongoing content owner confirmed, with login access and basic training
Nobody should be learning the platform on go-live day while the wall is already switched on in a public space.
For walls built from multiple panels, content needs preparing with the array in mind — single assets stretching across seams, or independent zones needing separate scheduling. Our guide on LED wall content management covers formatting and workflow in more depth.
The rule of thumb: content should never hold up a go-live date, because it is the one part of the project that can proceed in parallel with everything else.
Step 6: Testing, Commissioning and Sign-Off
Run a formal commissioning checklist rather than an informal "it looks fine" walkthrough:
- Colour and brightness uniformity across every panel
- Alignment and any visible seams
- The content player survives a power cycle and reconnects automatically
- Remote management works from off-site, not just from a laptop next to the wall
- If the wall syncs with other displays, a full multi-hour loop confirming frame sync holds rather than drifting
Document the as-built configuration: final panel layout, network settings, software credentials and access levels, and who to call for hardware faults versus software or content issues.
This handover pack is what turns a contractor's project into something the client's team can operate. A deployment is not finished when the wall turns on. It is finished when the people running it day to day can do so without calling the installer back.
Schedule a follow-up two to four weeks after go-live. Early operation is when real issues surface — content that does not scale the way it did in the simulator, a scheduling workflow the content owner finds confusing, or a network hiccup that only appears under everyday conditions. A short review catches these while they are still simple fixes.
Video Wall Deployment Timelines by Project Scale
Complexity and realistic timelines scale with wall size and use case, not just panel count. Actual timelines depend on site readiness, panel lead times, and how many trades need coordinating.
| Project scale | Typical example | Key complexity drivers | Realistic timeline |
|---|---|---|---|
| Small, single panel array | Reception or meeting room display | Standard power, simple content | 2-4 weeks |
| Medium, multi-panel wall | Retail storefront or lobby feature wall | Structural mounting, brightness/IP rating, sync setup | 4-8 weeks |
| Large, control room or venue wall | Operations centre, stadium, corporate HQ | Structural engineering sign-off, multi-trade coordination, redundancy planning | 8-16 weeks |
| Multi-site rollout | Retail chain or franchise network | Repeatable install process, centralised content governance, staggered go-live | 3-6 months |
Use this as a sanity check when a vendor's proposed timeline looks unusually short for the scale. A compressed timeline on a large or multi-site deployment usually means site assessment or content readiness has been skipped rather than genuinely accelerated.
Planning Your Own Video Wall Deployment
The deployments that run to schedule are the ones where requirements were written down first and the site was assessed properly before hardware was ordered. Everything after that is coordination.
If you are planning a multi-panel or multi-site wall, book a demo and we will show how SPARC handles scheduling, synchronisation and remote management from one dashboard.
Video wall deployment FAQs
How long does a video wall deployment take from start to finish?
It depends heavily on scale. A single-panel display in a meeting room can go from order to go-live in two to four weeks. A large control room wall or a multi-site retail rollout, with structural work, multiple trades, and centralised content governance, more realistically runs eight weeks to several months. Site readiness and panel lead times are usually the biggest swing factors.
What's the first thing I should do before starting a video wall project?
Write down the requirements before contacting any hardware vendor: the wall's job, who manages content, viewing distance and angle, whether it needs to sync with other displays, and the full budget including software and installation, not just panels. This one-page brief is what every later decision gets checked against.
Do I need a structural engineer for a video wall installation?
For anything beyond a small single-panel display, it's strongly recommended. LED video walls are heavier than they look, and confirming the mounting structure can safely carry that load, along with service access behind the panels, is one of the most common things skipped before installation day causes delays.
Can I choose the software platform after the hardware is installed?
You can, but it's not recommended. Software selection affects how content is scheduled, how multi-panel sync works, and how remote management functions — decisions that are far easier to build into the install than to retrofit. Choosing hardware and software in parallel, before installation, avoids having to work around limitations discovered after the wall is live.
Who should be involved in a video wall installation?
Typically an electrician for power, a mounting or structural installer for the frame and panels, a network technician for cabling, and an AV integrator to commission the display and connect it to the media player or controller. On larger projects, one person or team needs to own sequencing between these trades.
What does "commissioning" actually involve for a video wall?
A formal commissioning checklist confirms colour and brightness uniformity across panels, alignment and seams, that the player recovers automatically after a power cycle, that remote management works from off-site, and — for multi-panel walls — that synchronisation holds over an extended test loop rather than drifting after a few hours.
How do I hand a video wall over to the team that will run it day to day?
Document the as-built configuration: panel layout, network settings, software access and credentials, and a clear list of who to contact for hardware faults versus content or software issues. Make sure the ongoing content owner has login access and basic training before go-live, not after.